
Choosing Beads for Bead Animal Projects
August 12, 2026Have you ever thought about taking up a hobby that crafts happy little figures and gives you a great deal of personal satisfaction? Well then you’ve got to try making bead animals! Follow along to learn how to make some of your very own!
Custom bead animal designs are simple to create and make great crafts to give as gifts. As a bonus this hobby is very relaxing and has the added benefit of improving your patching skills. We’ll show you what you’ll need to know in order to create your own bead animal designs as well as help you with common questions and issues.
Making bead animals may seem like an overwhelming craft to undertake but with the right planning and Prep work it isn’t as difficult as it looks. The best part is that you don’t even need to be great at crafts to do it. The organization does most of the work for you.
- Things You’ll Learn
- What supplies are needed to get started.
- How to organize and prep your supplies to craft bead animals.
- Tips to help you finish shapes.
- How to identify and fix mistakes.
- How to make bead animal designs on your own.
Select Colorful Beads Cord & Essential Tools
A great way to make your designs stand out is to incorporate colorful beads. Vibrant colors make small details like eyes or other features of your design. For animal designs color can help differentiate spots and other details to increase the quality of your design. Using a wide variety of colors and sizes gives you more options when creating your design.

Create Defined Animal Features
When creating animal designs the placement of the beads help define the shape and structure of the animal, Using beads of different sizes in random order can cause the shape to be distorted because of the uneven tension on the cord, Consistency and order is important when using beads of different sizes.
Use Crafting Tools Safely
Good quality crafting cord is important because it helps provide a base for your design and helps keep the shape. Fraying is common with crafting cord especially if it is used multiple times and can be prevented by using a lighter to seal the ends. Always use a lighter with caution.
Choose Easy Patterns
As with the supplies the difficulty of the patterns is also important when starting bead art. Difficult patterns can be stressful and frustrating. starting with easy patterns helps give you the confidence you need when doing more complicated designs.
Simple Creatures: Lizards Fish Frogs and Snakes
Because simple structure does not always mean simple design beginners sometimes have difficulty constructing animals with extremely complicated body shapes like mammals. On the other hand constructing an animal with a long linear body shape like a snake or lizard is not difficult. In the same vein as long as the body shape is not irregular an animal with body segments like a frog or fish is not too complicated.
- Animal Body Patterns
- Level of Difficulty
- Distinctive Features
- Snakes
- Very Easy
- Long thin body
- Lizards
- Easy
- Long body with short legs
- Fish
- Moderate
- Long body with fins
- Frogs
- Moderate
- Long slim body with legs
Pick a Difficulty Level That’s Right For You
You should always assess your skill level before beginning a project. If you are not feeling very confident choose a pattern that does not require a lot of color changes and/or has a simple body shape. It is best to start with a simple project to gain experience.
Get Your Work Space Ready
Getting your work space in order and planning your bead design gives you a good start on the project and reduces your risk of getting beads all tangled up. Having a crafting space gives you the freedom to explore different bead designs.
A Safe Space
Safety should always be your first consideration with small beads. If you maintain the safety of your space and a clutter free mind bead crafting is relaxing.
Small Beads Present a Choking Hazard
Toddlers and household pets can’t tell that beads are small and therefore present a choking hazard. Always work on a bead project on a high surface or in a part of the house where beads can’t be accessed by pets and kids. The surface must also be clear so that beads can’t be removed by kids or pets.
Organize Supplies in a Manner That Prevents a Mess
There are several methods to contain beads. Using a bead tray or a shallow bowl can help confine beads and reduce the mess of thousands of small beads spreading all over the floor. Other methods to stay organized are;

Using a magnet to pick up small beads that escape
Using non-slip pads to hold containers in place.
Labeling containers that hold different beads to help identify which beads to use to create a particular part of the bead animal.
Read the Pattern and Visualize
Studying instructions gives one an idea of the end product and helps one create a game plan on how to approach the project. A bead project can then be broken down into smaller sub projects. This can be very beneficial in a long and complicated project.
Break Down the Project and Anticipate Outcomes
Prior knowledge on how the final product looks like can greatly improve the final outcome. The project can then be broken into smaller segments such as head body and arms. There are many other methods to reach the same outcome.
The Right Organization Can Change Your Crafting Life
Proper organization of your beads can dramatically reduce the time it takes you to make your bead animal projects. Knowing what size and color bead you need and having them readily available reduces the chance for mistakes and helps increase your overall efficiency.
Step-by-Step Directions Can Change Your Life
With our easy bead animal project you will learn a new way to organize and string beads to create fun and creative projects. Following the instructions provided will teach you how to take a variety of common craft supplies and create fun and interesting craft projects.
Start the Body of the Animal with the First Bead Row
The first row of beads in the project is what sets the color sequence for the rest of the project. Making sure you put the beads on in the correct order is important. Confusion can easily set it at this step and for the rest of the project.
Once the first row of beads is complete center the beads on the cord. Leaving extra cord on the ends gives you more working space for the rest of the project and helps ensure that the knot you tie at the end is secure.
Create Three Dimensional Bead Animals
Construct Animal Bodies and Legs by Cross-Stringing.
Cross-stringing is the foundation of constructing bead animals. To cross-string both ends of the string pass through the same row of beads in the opposite directions. Use this technique to construct a firm and steady base of the bead structure.
Pull Each Row Tight Against the Next without Crushing the Beads.
To construct a well-done bead structure each row needs to be pulled firmly against the next. Be careful not to crush the beads.
Construct other body features in the same manner as the body in proper order relative to side branches.
To construct a side branch insert the beads on one side of the string and pass the string back through the previous beads to lock the structure in place. This technique is used to construct ears and other body features.
Construct eyes spots and other features using contrasting beads.
These small detailed add ons add cuteness to your finished project!
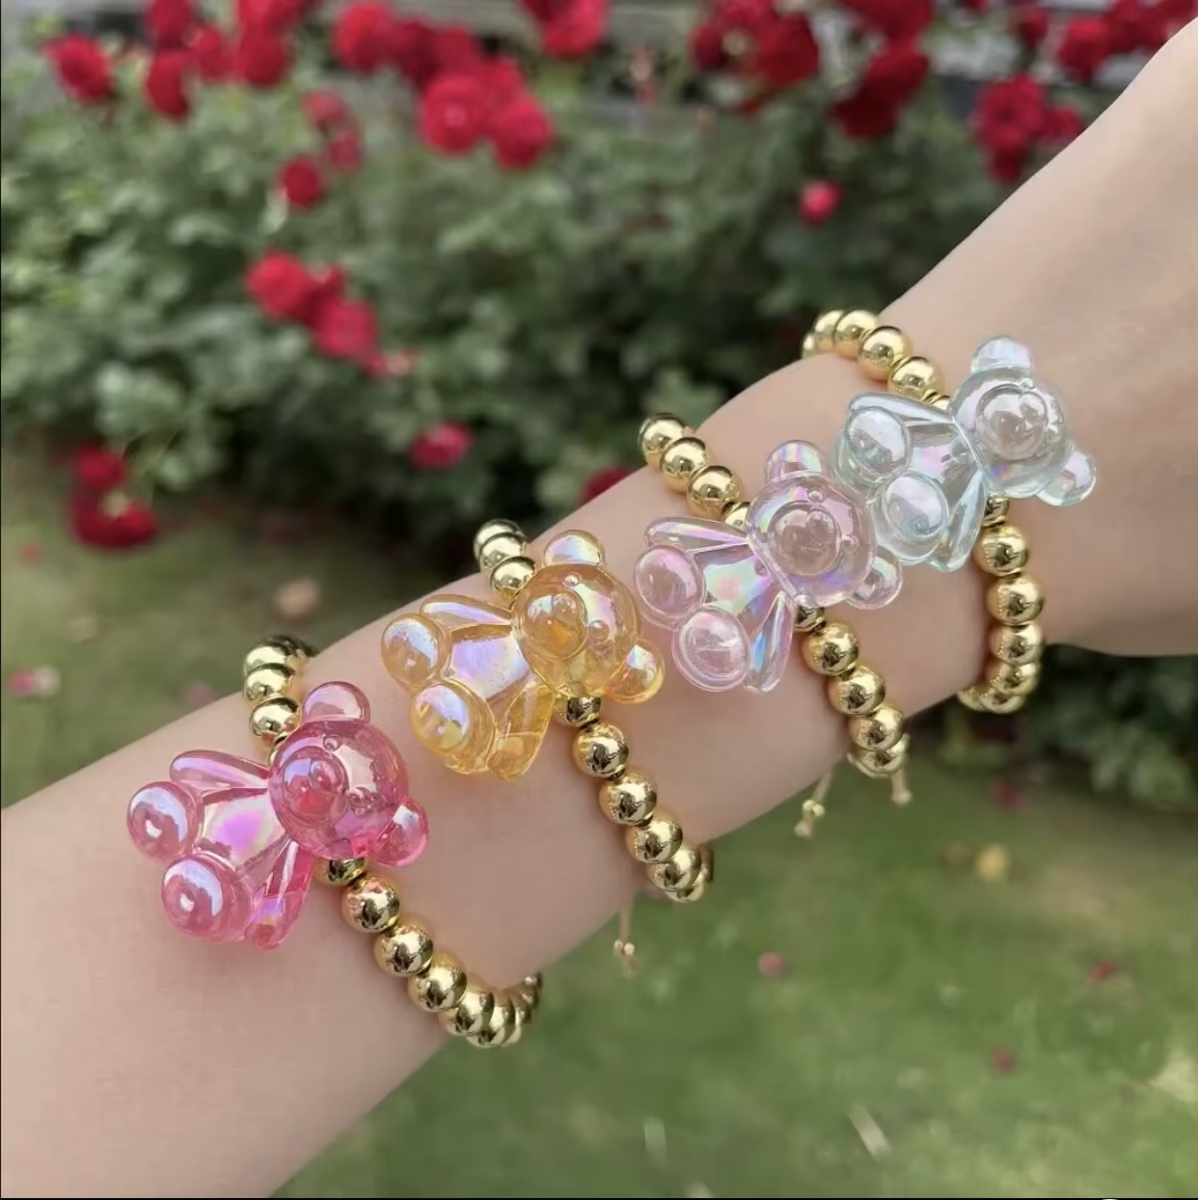
Final Sections of the Animal
It is important to maintain even tension throughout the construction to keep the animal balanced. This is particularly important on the last few rows. Make sure to check both sides of the cord during the last couple of rows. If you find that the cord is too tight on one side the animal may twist. If you notice that the cord is too loose refer to the diagram to find the correct row number where the cord should be inserted.
Check if Your Animal is Symmetrical
Take a few moments to look at your project from different angles. Look to see if your work is even and symmetrical. If your work is symmetrical the final result is very appealing.
Lock the Last Row of the Cord
Tighten and Hide Ends
When the last row is completed lock it in place by tying the cord in a secure knot. Tuck the end of the cord behind the adjacent bead. Repeat this process for all of the ends. This gives the project a finished look. If the cord is frayed use your scissors to trim it close to the bead. If you are using nylon cord the tip can also be melted with a lighter.
Address Common Problems
Often crafters experience mistakes while making an animal. Some of these include loose rows or beads that are missing. These minor problems need to be corrected to achieve the final result that you want. If you do not correct these they may cause a bigger problem further along in the project.
Take Your Time When Backtracking
Remove cord only a few beads at a time. A sudden forceful movement can snap the cord and/or damage the beads. Backtracking should not affect the appearance of your final product as long as you take your time while doing so.
- Issue Cause Solution
- Loose Row Insufficient cord tension
- Tighten cord ends gently.
- Skipped Bead Missing bead sequence
- Unstring to point of error.
- Uneven Shape Unequal cord length
- Readjust and even cord tension.
- Frayed Cord Poor care of cord
- Trim cord and seal with heat.
If you have beads and cord you can make characters to display and give away to your friends and family. Using different colors to represent different animals can be fun for you and your friends and family and can also represent your creativity and individuality. Sometimes giving items that you made yourself can be more special and meaningful than buying something to give away. Make sure you have all your supplies and that your workplace is clean to reduce the stress of searching for things or having a cluttered area.
Using different things to incorporate different ideas of animals can be fun and innovative. Using different things like different bead shapes or bead sizes can be a fun way to express your ideas as well. When using different ideas make sure you clean up and organize your things to be ready for your next project. Different bead brands can have different things so you should research and use the things you want most. Practicing these crafts can be easy fun and rewarding. After gaining experience with the basics you can try more advanced projects to create different things and new ideas.

FAQ
What kind of beads should I use?
Our suggestion is to use Pony beads (The Beadery or Crayola brands work great) for this tutorial. Large hole beads work the best for beginners as the holes make threading easier. These beads are great to use for making your critters as the colors make great eyes spots and fins.
What kind of string should I use?
For the project the type of string you use doesn’t matter as long as it is thin. A durable string is best to use for the cross-stringing technique. The type of string you use does effect how long your bead animal lasts and how strong it is.
What kind of animal pattern should I try first?
A beginner pattern like a beaded snake or lizard is a good first pattern to do. These patterns help with cord tension and are not very complex like other patterns.
How do I not lose my beads?
Organizing your beads before you start by color can help from losing your beads. This also helps with spilling beads. This method also can contain small beads and help with young kids and/or pets.
How can I stop knots from untying?
A neat knot will hold tight but the ends of the cord can still come untied. Using a Bic lighter you can quickly and easily melt the ends to fuse them. Of course always trim the ends with sharp Fiskars scissors for a tidy edge before melting. These small details really add professionalism to the gifts you make by hand.
How do I fix mistakes in my work?
Fixing mistakes by untying and restringing is way easier than picking apart the work stitch by stitch. However to catch mistakes before they really add up and become obvious it’s a good idea to check the alignment of your work after every row and every few stitches.
How can I use bead animals?
Beanie critters make cute trinkets and gifts too! Attach them to a lanyard use them as a zipper pull or give them to your friends as gifts!
